Step 1: Configure Sparkl
Sparkl is a plugin creator instrument that sits on 2 major cornerstones of Pentaho: Ctools and PDI, aiming to leverage as much as possible of our existing stack. Dashboards are used for the front-end part and PDI (named Endpoints in sparkl) are used for the back-end logic.
In order to export our dashboards to PDF we only need the endpoint part but we’ll build a small dashboard so we can test the endpoint.
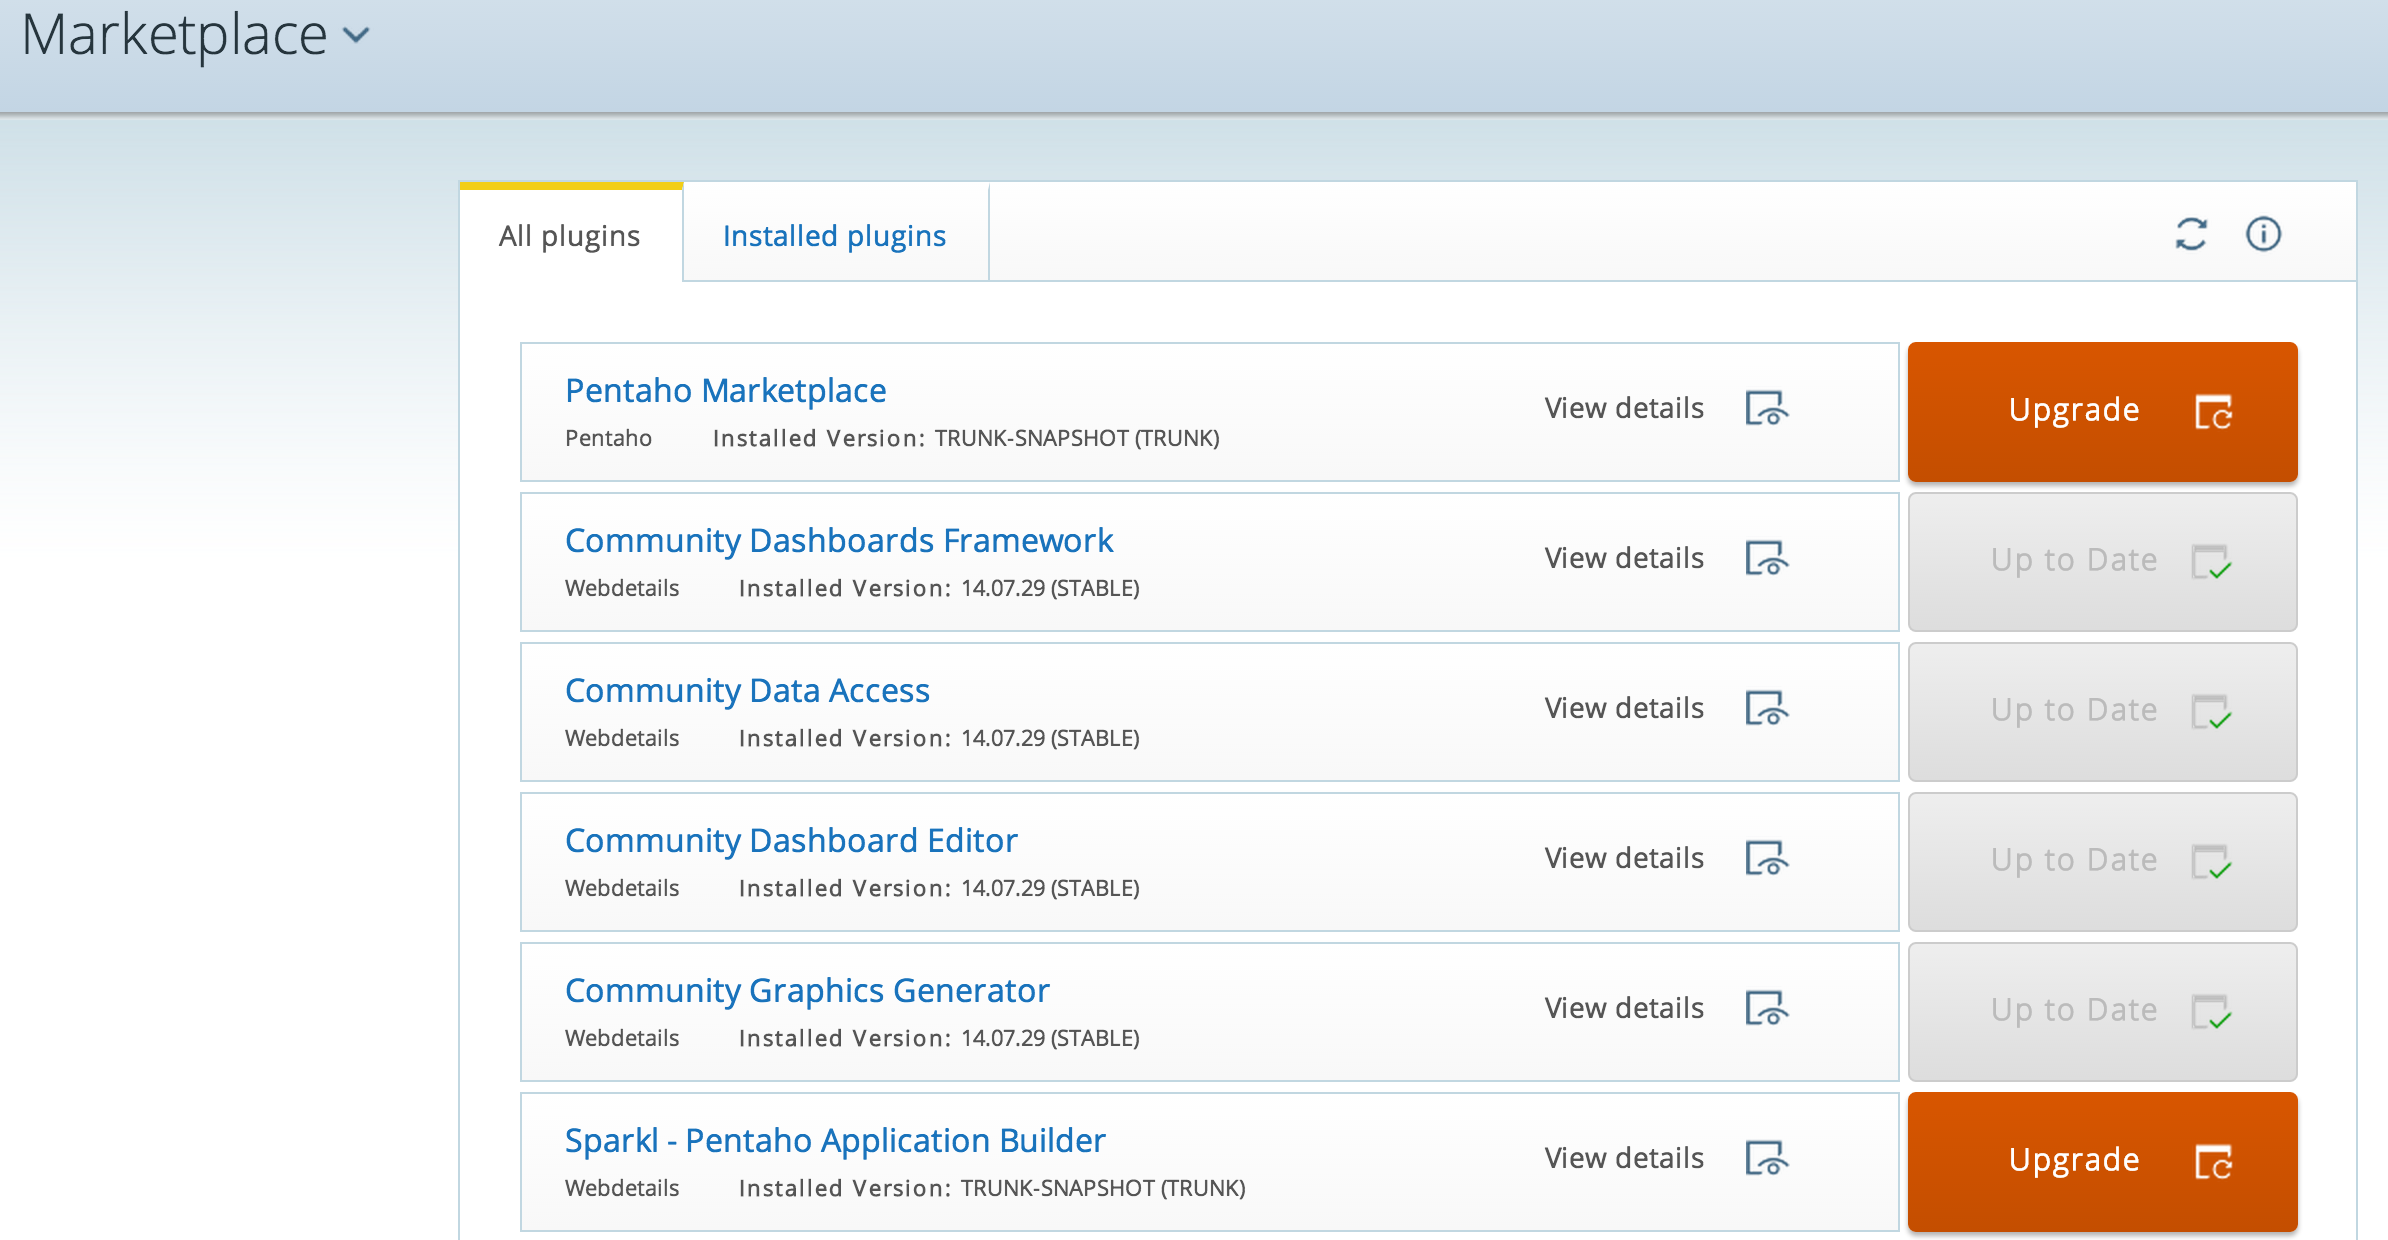
First of all you must install Sparkl using Pentaho Marketplace. Be sure to install dependencies: CDF, CDA, CDE and CGG. It’s recommended to have installed same versions of CTools (14.07.29 STABLE in my case)
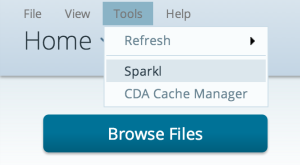
Restart your BI Server and access Sparkl using the menu Tools as shown in image below.
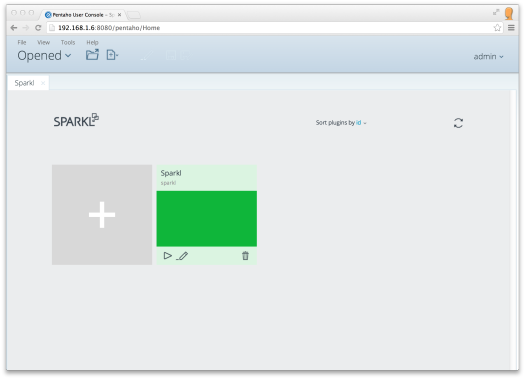
Now you’ll see the initial Sparkl desktop with a default aplication:
Step 2: Create Sparkl Aplication
Now it’s time to create the aplication! Let’s click on “Add” button and fill the Aplication Description.
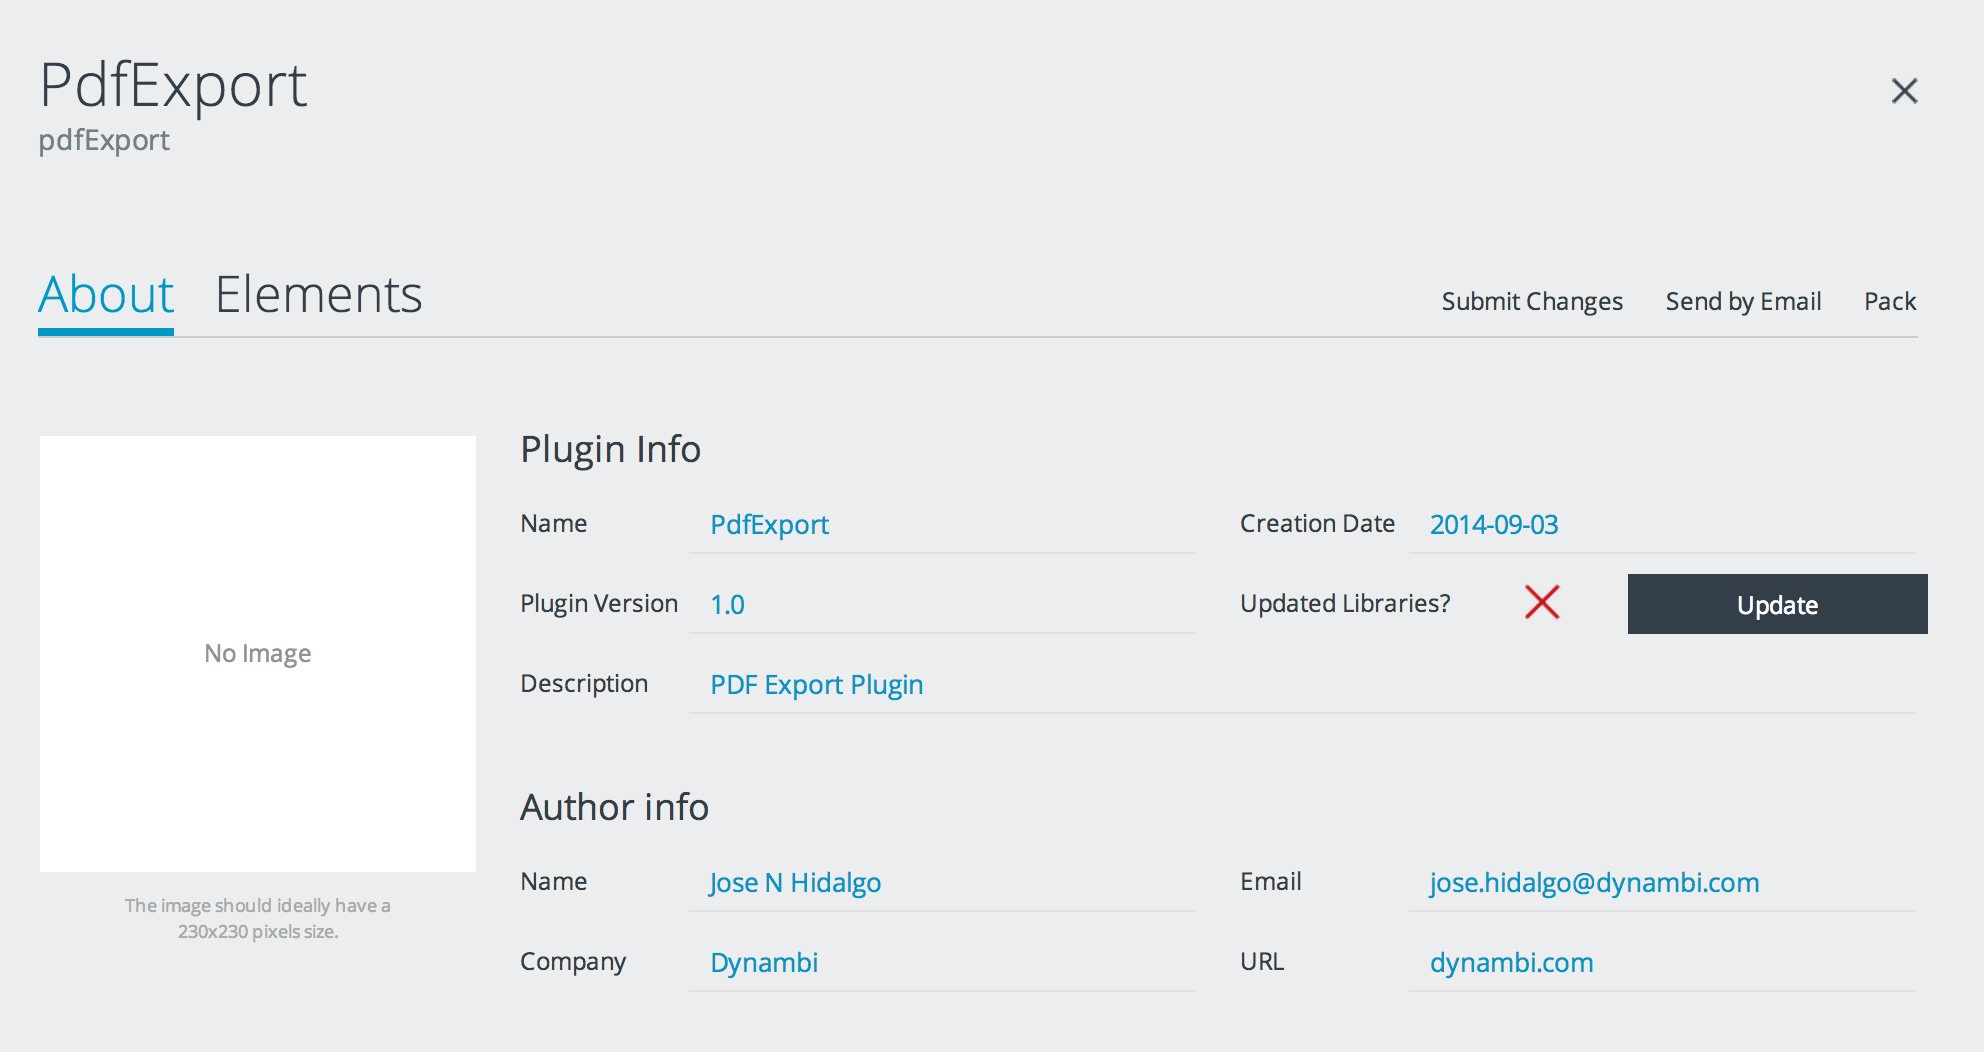
Select “Elements” tab and click in “Add New Element”. Set a name for the element, select “Kettle Endpoint” as element type and “Clean Job” in template. Now click on “+” button to add it to our application.

You can check your brand new Job in the directory:
"biserver"/pentaho-solutions/system/"app_name"/endpoints/kettle/"element".kjb
Step 3: Edit Kettle Job
Open the Job with Spoon and you’ll see a very simple Job with only “Start” and “Success” steps. Your final Job will look as the following image:
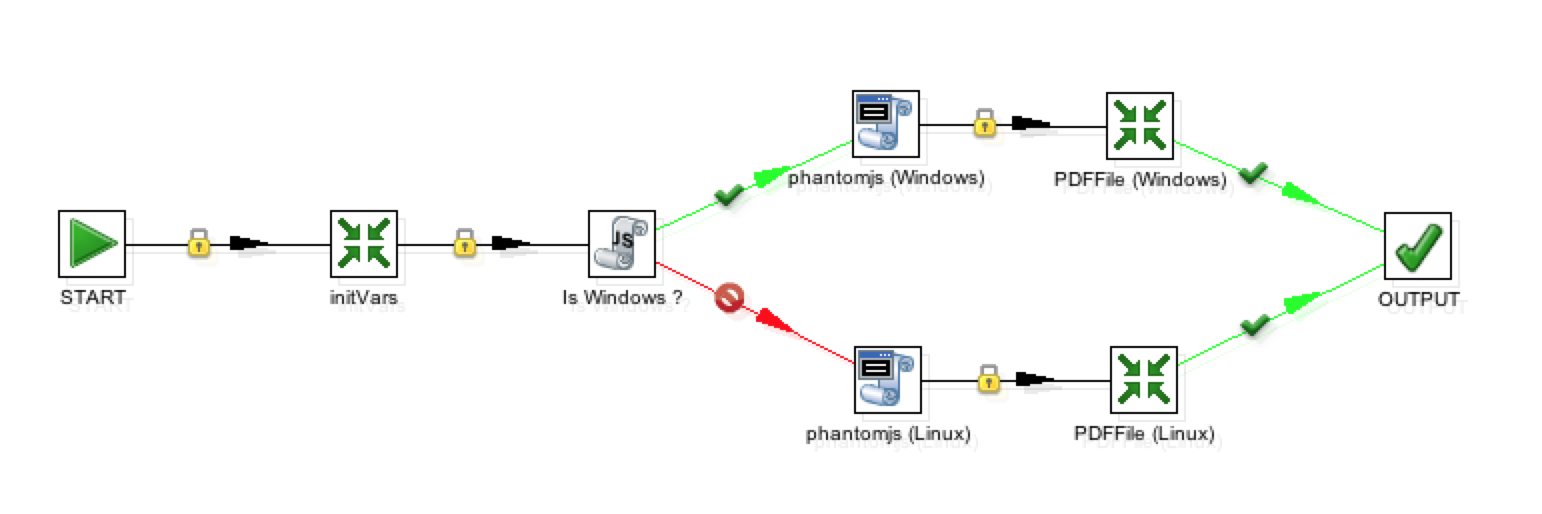
Our Kettle endpoint will use 3 variables in order to generate PDF file:
- URL to render in PDF
- Pentaho BIServer directory
- Name of PDF file generated
We’re going to call the endpoint using these params so we need to set them in the Job. This is the purpose of the first step, a transformation with variables initialization:
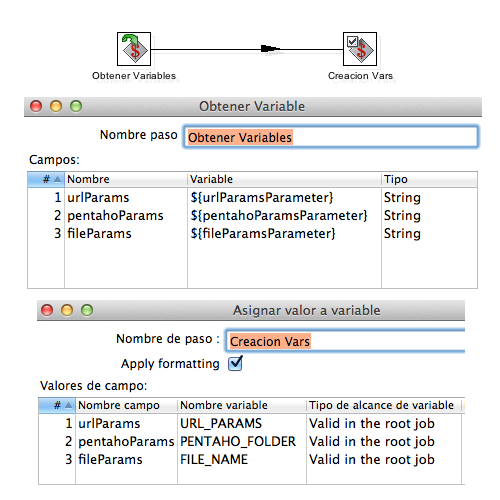
Next step is a simple Javascript evaluation to know if our installation is Linux or Windows, because we’re going to use a library call and the script depends on the platform. The code needed to know if the installation is based on linux or windows is:
is_windows
If true then we’re going to use a branch based on Windows scripting and if false then we’ll use a Linux script.
Next step is where “magic” happens. We’re going to use PhantomJS to render our PDF file. The step execute a shell script with following code:
${PENTAHO_FOLDER}\tomcat\webapps\pentaho\phantomjs-lib\phantomjs.exe rasterize.js "${URL_PARAMS}" ${FILE_NAME} A4
(in case of Windows branch)
./phantomjs rasterize.js "${URL_PARAMS}" ${FILE_NAME} A4
(in case of Linux branch)
We must to set Working Directory in the step to
${PENTAHO_FOLDER}\tomcat\webapps\pentaho\phantomjs-lib
(in case of Windows)
${PENTAHO_FOLDER}/tomcat/webapps/pentaho/phantomjs-lib
(in case of Linux)
In last step (PDFFile Transformation) we need to copy our generated PDF file to result.
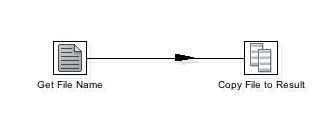
In “Get File Name” step we use following selected file:
${PENTAHO_FOLDER}\tomcat\webapps\pentaho\phantomjs-lib\${FILE_NAME}
and then add a step to copy files to result.
Step 4: Finishing Kettle Job
Before we can test the Job we must set a couple of things. First, set Parameters of the Job (double click on empty space in spoon) to force Kettle output to ResultFiles. Remove # in cpk.response.kettleOutput parameter and set the default value to ResultFiles.
The second thing to do is to copy PhantomJS library in Pentaho folder: tomcat/webapps/pentaho/phantomjs-lib.
Download PhantomJS in: http://phantomjs.org/download.html
You need phantomjs.exe, phantomjs and rasterize.js files. checkout files permissions after copy them
Step 4: Testing Kettle Job
Go to your Pentaho Data Integration folder and launch this:
./kitchen.sh -file:/opt/pentaho/biserver-ce/pentaho-solutions/system/pdfExport/endpoints/kettle/pdfJob.kjb -param:urlParamsParameter=http://pentaho.com -param:pentahoParamsParameter=/opt/pentaho/biserver-ce -param:fileParamsParameter=pentaho-landing.pdf
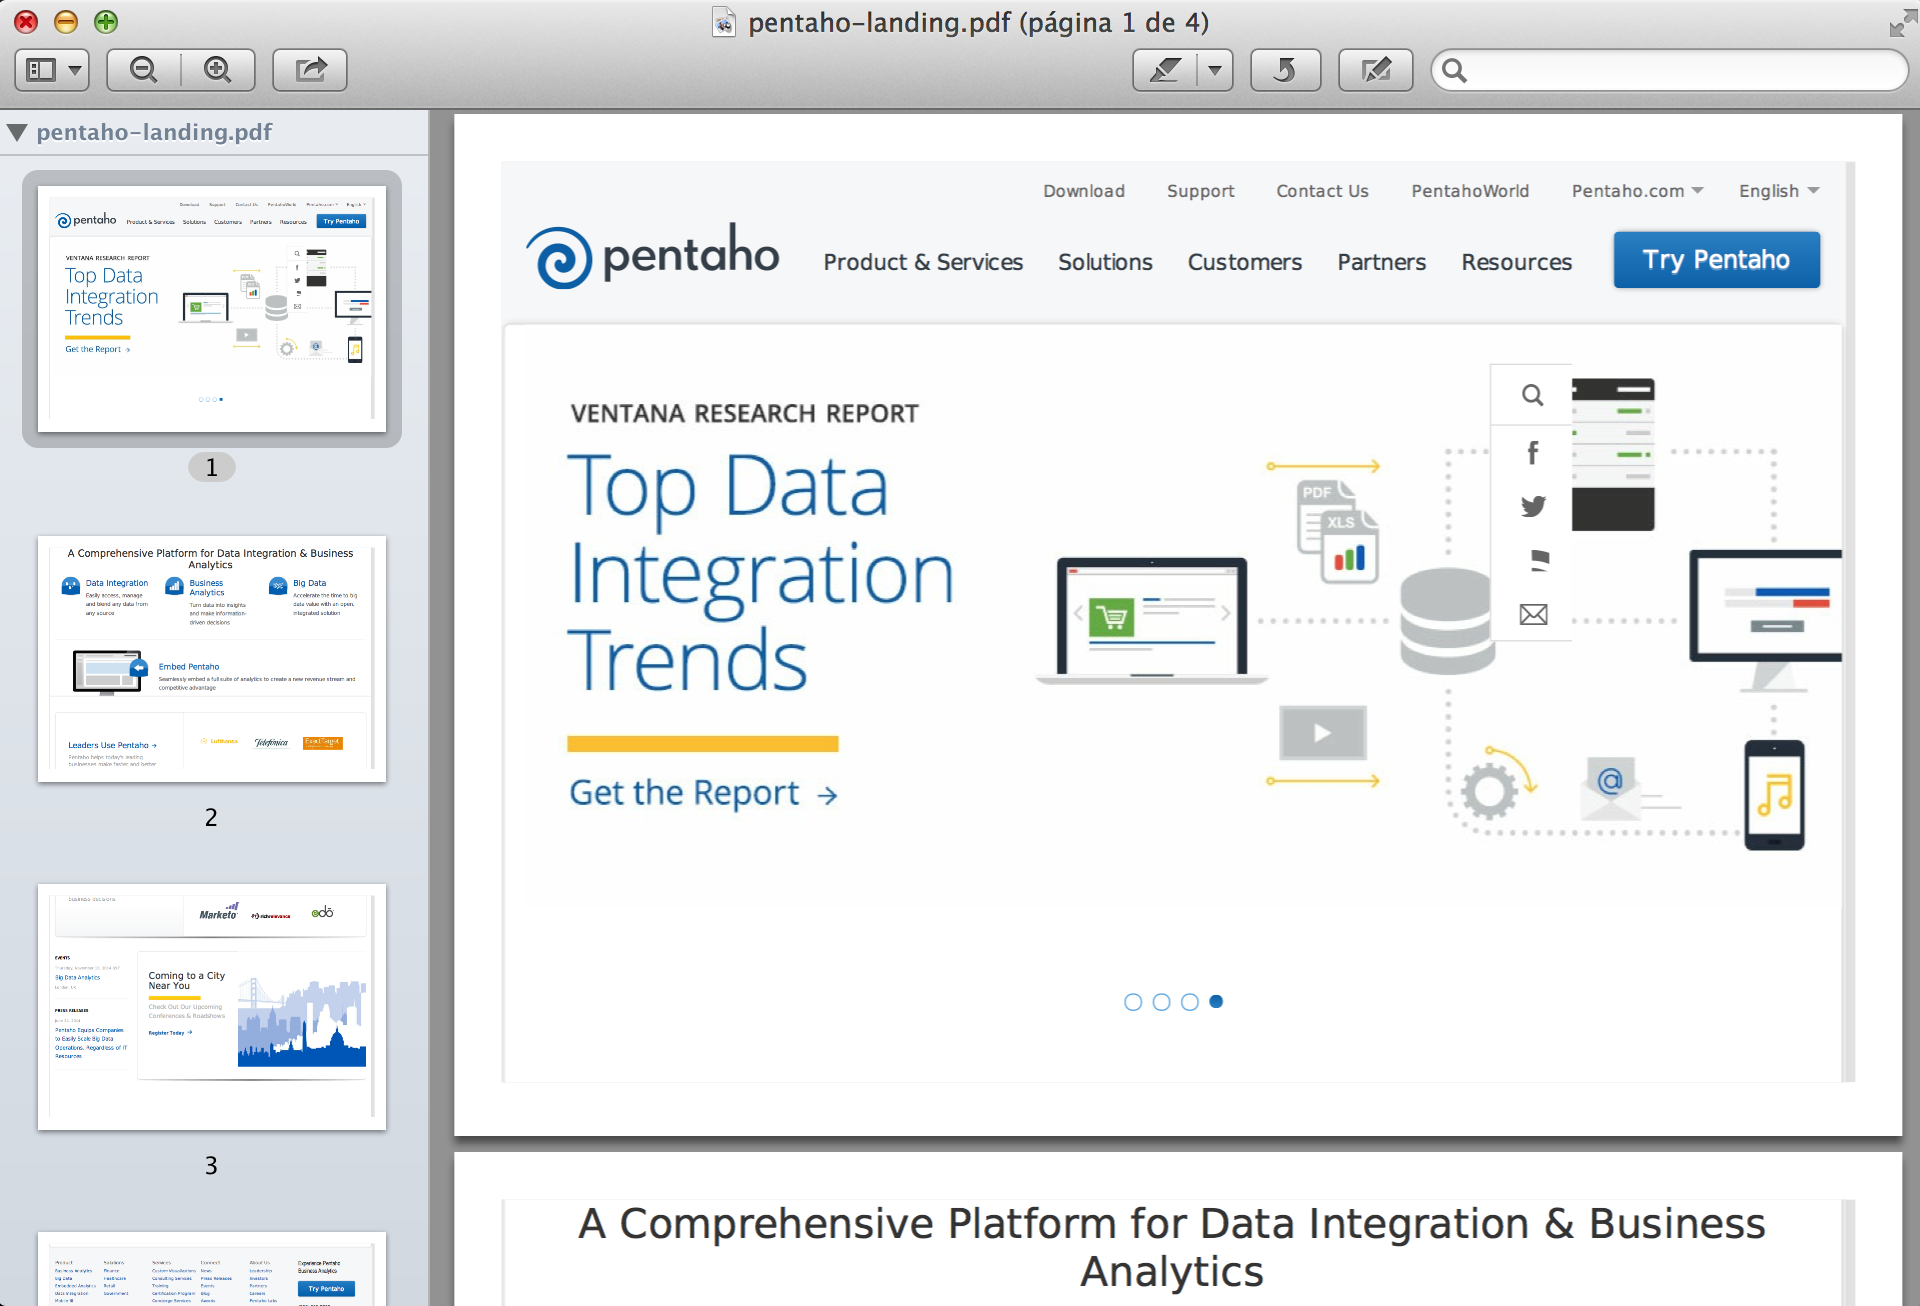
This command will launch our ETL job and it’ll render “pentaho.com” landing page in “pentaho-landing.pdf” file.
If something goes wrong check the log, common errors are typos or file permissions.
Step 5: Exporting your Dashboard
I’ve developed a Dashboard for a project (don’t worry about NDA. It’s dummy data) and the client want to export it to PDF.
I have the sparkl app up & running but how can I call it from CDE?? Well, there is several ways to do that, best way is using “datasource” property in Button Component that execute endpoint. You have Success and Failure callbacks properties to add functions to handle function returns.
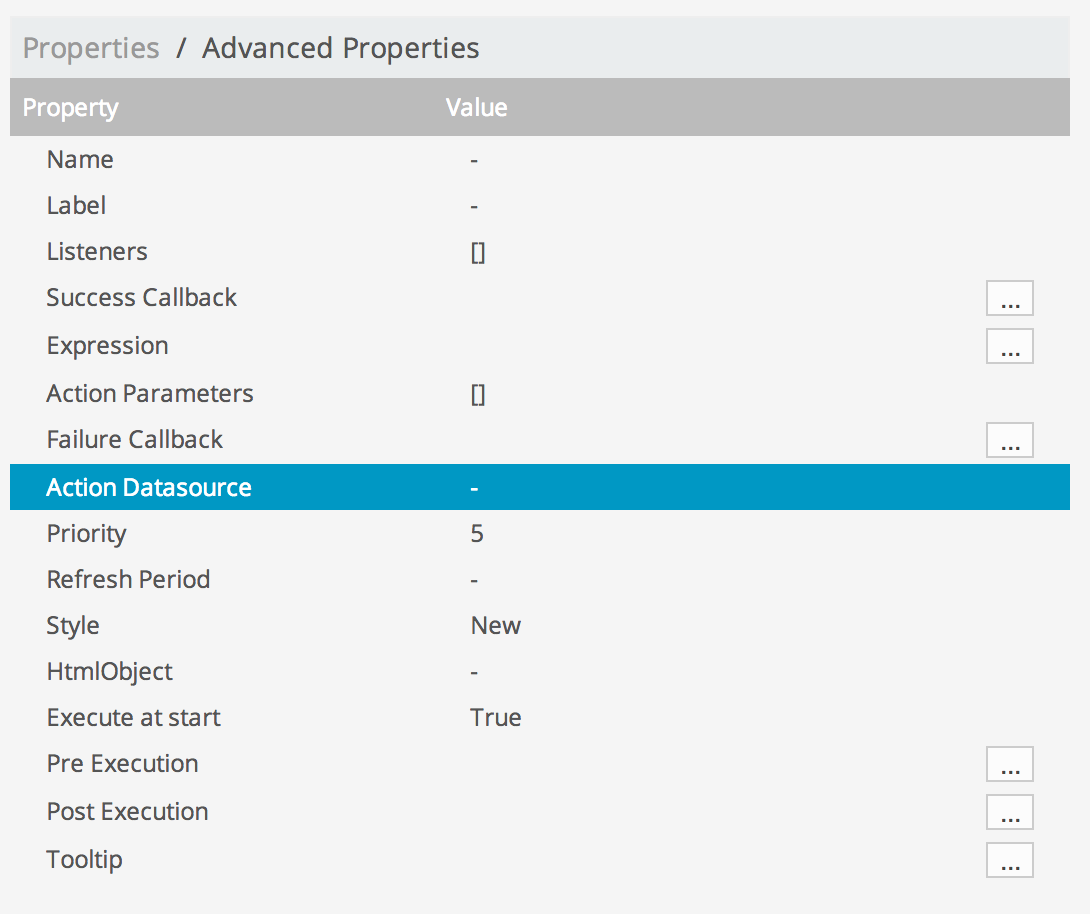
Other way is to use Expression property to build the call to our endpoint. All we need to do is invoke endpoint passing params in query:
http://biserver-ip:8080/pentaho/plugin/pdfExport/api/pdfJob¶murlParamsParameter=http://pentaho.com¶mfileParamsParameter=pentaho-landing.pdf¶mpentahoParamsParameter=/opt/pentaho/biserver-ce
same result that previous kitchen call
So we write that function in Expression property in Button Component:
` function f() {
var newURL = “http://” + window.location.host + Dashboards.getWebAppPath(); var url = newURL + ‘/plugin/pdfExport/api/pdfJob?bypassCache=true’; url += ‘¶murlParamsParameter=’ + encodeURIComponent(urlParamsParameter); url += ‘¶mfileParamsParameter=’ + fileParamsParameter; url += ‘¶mpentahoParamsParameter=’ + pentahoParamsParameter;
window.open(url,‘PDF Export’,‘toolbar=0,resizable=1,location=0,status=0’);
}`
‘urlParamsParameter’, ‘fileParamsParameter’ and ‘pentahoParamsParameter’ are Simple Parameters where you can set your values in order to export whatever you want.
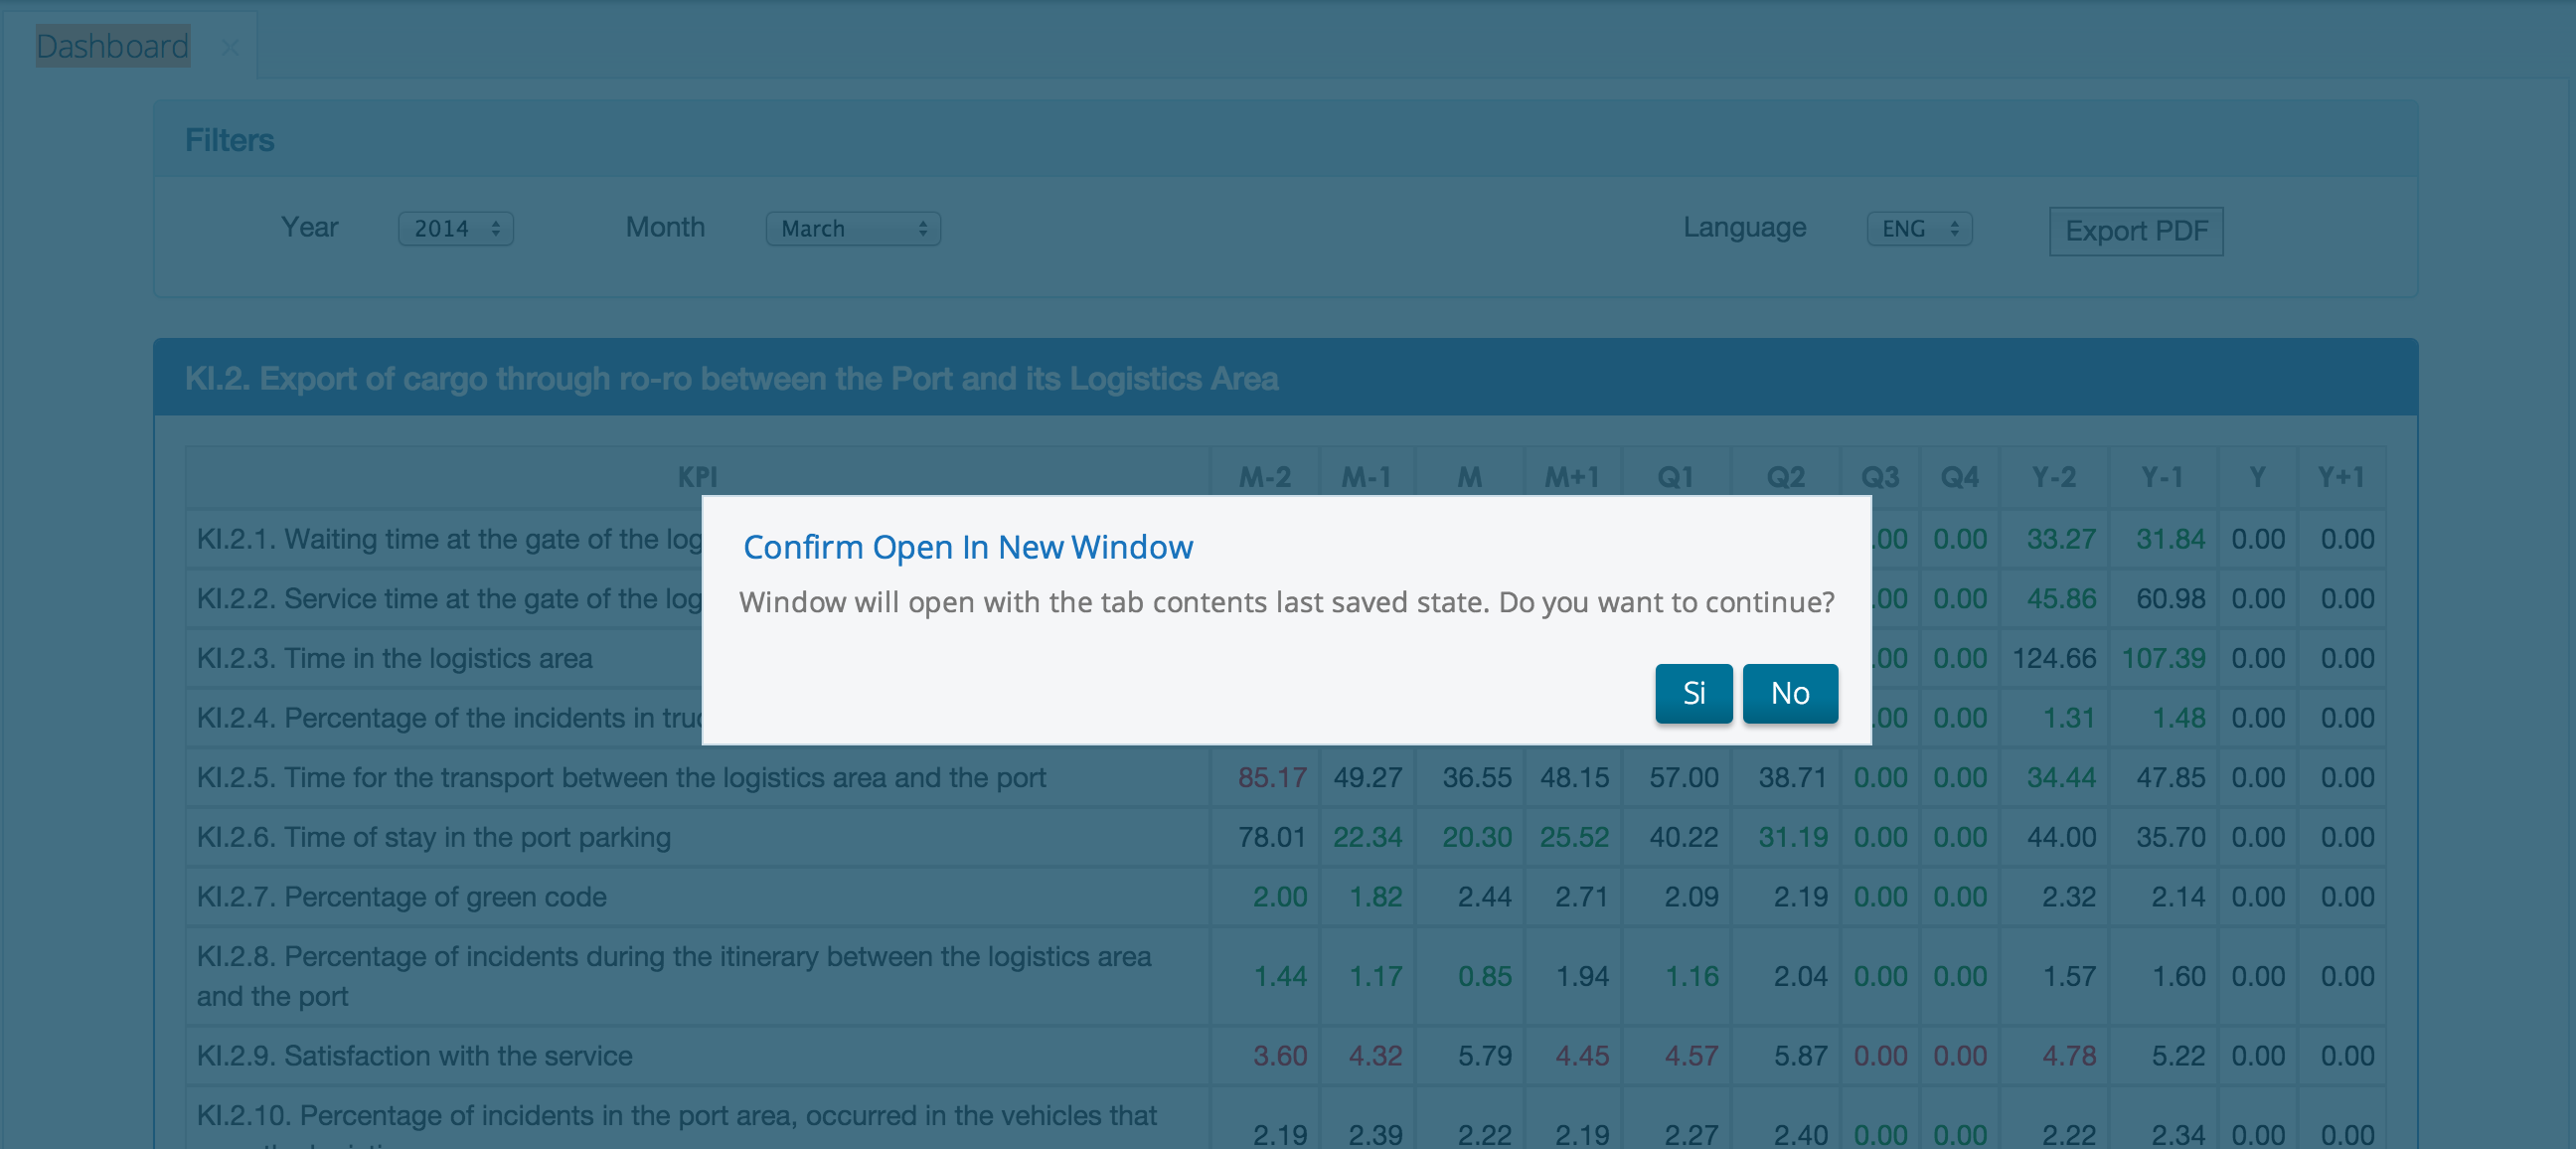
Usually you want to set ‘pentahoParamsParameter’ to your biserver-ce installation folder, ‘fileParamsParameter’ to a fixed file name and ‘urlParamsParameter’ to your Dashboard URL. How can you get your Dashboard URL? easy… double click on Tab to open on a new window and copy URL to the parameter.

References:
1. http://www.osbi.fr/exporter-en-pdf-des-dashboards-pentaho-cde-avec-phantomjs/
2. http://diethardsteiner.blogspot.com.es/2014/02/sparkl-create-your-own-app-for-pentaho.html
3. http://fcorti.com/pentaho-sparkl/kettle-endpoint-sparkl-pentaho/
Happy coding!